+1916-477-1914 info@dmvpermit.org
Seniors and Driving: Staying Safe and Confident on the Road

Seniors and Driving: Staying Safe and Confident on the Road

Seniors and Driving: Staying Safe and Confident on the Road

As we age, driving can become more challenging due to physical and cognitive changes, but that doesn’t mean seniors have to give up their independence. With a few adjustments and an awareness of how aging affects driving abilities, seniors can continue to drive safely for many years. Here are some practical tips and considerations for senior drivers.

1. Regular Health Checkups

Health plays a crucial role in maintaining the ability to drive safely. As we age, conditions such as arthritis, vision problems, and slower reaction times can affect driving. Here are key health checks seniors should prioritize:

  • Vision: Schedule regular eye exams to ensure you meet the DMV’s vision requirements. Proper corrective lenses or cataract surgery can make a significant difference in driving ability.
  • Hearing: Difficulty hearing sirens, horns, or other road sounds can be a safety issue. Regular hearing tests help ensure you don’t miss critical audio cues while driving.
  • Reflexes and Mobility: Conditions like arthritis can make it harder to turn the wheel or press pedals. Stretching exercises, physical therapy, or adjustments like power steering can help.

Monitoring health and making adjustments when necessary keeps senior drivers safe on the road.

2. Adjust Your Driving Habits

Seniors can maintain their driving independence by adjusting their habits to fit their changing abilities. Here are some practical adjustments:

  • Limit driving at night: Reduced vision in low-light conditions can make nighttime driving difficult. If this is the case, try to limit driving to daytime hours.
  • Avoid heavy traffic: Congested roads require quicker reflexes, so consider driving during off-peak times when traffic is lighter.
  • Stick to familiar routes: Driving on familiar roads can reduce the stress of unexpected changes in traffic or road conditions. Use navigation tools to avoid getting lost when traveling to new places.

By modifying driving habits, seniors can stay confident behind the wheel while minimizing risks.

3. Vehicle Modifications for Comfort and Safety

Modern vehicles can be equipped with features that make driving easier and safer for seniors. Here are a few adjustments to consider:

  • Power steering: This makes it easier to turn the wheel, especially for those with limited strength or mobility.
  • Backup cameras and parking sensors: These features help reduce blind spots and assist with parking, making it easier for seniors to navigate tight spaces.
  • Adaptive controls: Specialized equipment like larger mirrors, pedal extenders, or hand controls can make driving more comfortable and accessible for those with physical limitations.

Investing in vehicle modifications tailored to individual needs can help seniors drive more safely and comfortably.

4. Know When It’s Time to Retire from Driving

At some point, every driver may face the difficult decision of giving up driving. It’s important to be honest with yourself about when it might be time to hang up the keys:

  • Increased anxiety or confusion while driving is a sign that it may no longer be safe.
  • Frequent close calls or minor accidents indicate that reaction times or awareness may be slipping.
  • Family concerns: If loved ones express worry about your driving, it’s worth considering their perspective.

If giving up driving becomes necessary, explore alternative transportation options like rideshares, public transit, or senior shuttle services to maintain independence.

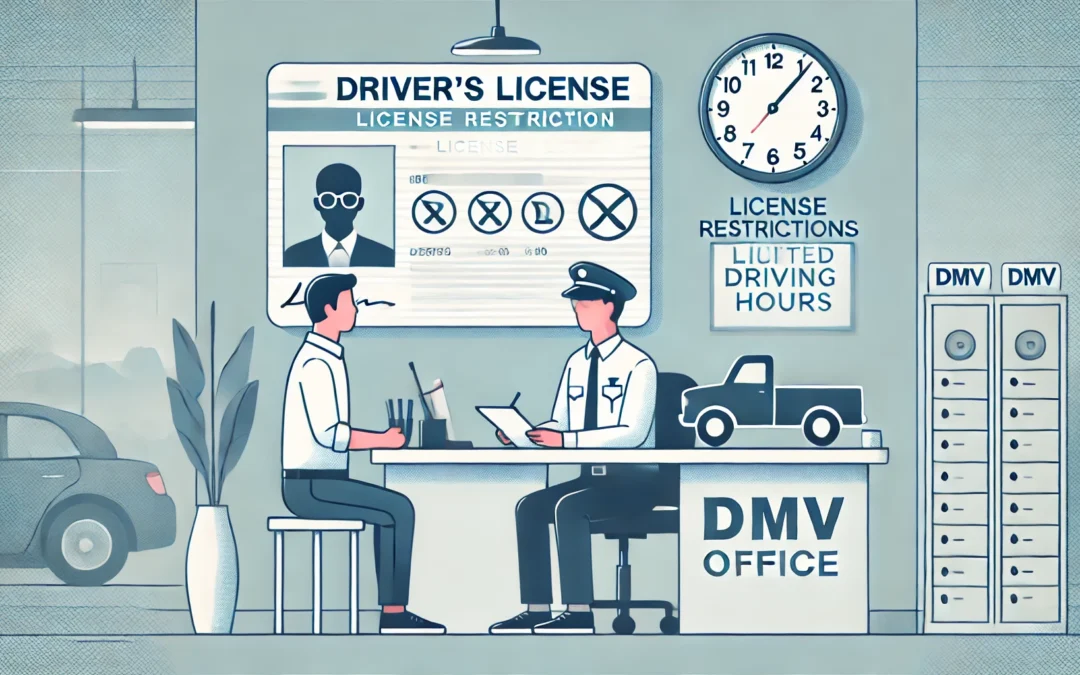
Driver’s License Restrictions: Ensuring Safe and Responsible Driving

Driver’s License Restrictions: Ensuring Safe and Responsible Driving

Driver’s License Restrictions: Ensuring Safe and Responsible Driving

Driver’s license restrictions are put in place by the California Department of Motor Vehicles (DMV) to ensure that drivers operate vehicles safely under conditions that match their abilities. These restrictions can be temporary or permanent and are often designed to protect both the driver and others on the road. Here’s what you need to know about the different types of restrictions and how they may apply to your license.

1. Common Types of License Restrictions

There are several types of restrictions that can be added to a driver’s license, depending on the individual’s circumstances. The most common restrictions include:

  • Corrective lenses (Restriction Code A): If you require glasses or contact lenses to meet the DMV’s vision standards, your license will be marked to indicate that you must wear corrective lenses while driving.
  • Limited driving hours (Restriction Code B): Some drivers may be restricted from driving at night due to vision impairment or other health concerns. This ensures that they only drive in conditions that are safe for them.
  • Hand controls (Restriction Code C): Drivers with physical disabilities may be required to use vehicles equipped with special hand controls. This restriction ensures that the vehicle is adapted to meet the driver’s needs .

These restrictions are noted on your license and are enforceable by law. Driving outside the terms of your restrictions can result in penalties or even license suspension.

2. Medical-Based Restrictions

Medical conditions can sometimes affect a person’s ability to drive safely. When the DMV becomes aware of certain medical issues, they may impose restrictions to ensure that the driver is not putting themselves or others at risk. Examples include:

  • Epilepsy or seizures: Drivers who suffer from seizures may be required to submit medical clearance before being allowed to drive or may face restrictions on when and where they can drive.
  • Diabetes management: Those with insulin-dependent diabetes may be required to regularly report their condition or limit their driving to daytime hours.
  • Heart conditions: Drivers with serious heart conditions may need periodic medical evaluations to retain their driving privileges .

If you have a medical condition that affects your driving, it’s important to work with your doctor and the DMV to ensure that you remain safe behind the wheel.

3. Provisional License Restrictions for Young Drivers

California enforces strict rules for drivers under 18, as they are still developing their driving skills. These provisional restrictions include:

  • No passengers under 20: For the first 12 months after receiving a provisional license, young drivers cannot transport passengers under 20 years old unless they are accompanied by a licensed driver aged 25 or older.
  • Nighttime driving: Drivers under 18 are not allowed to drive between 11 p.m. and 5 a.m. during their first year of licensure without adult supervision, unless driving for school, work, or emergencies .

These rules are intended to give young drivers time to gain experience and reduce the risk of accidents.

4. Removing License Restrictions

In some cases, restrictions can be lifted if the driver’s condition improves or if they demonstrate that they can safely operate a vehicle under all conditions. To have a restriction removed, you may need to:

  • Provide medical documentation: A doctor may need to certify that your condition has improved enough to drive without restrictions.
  • Pass additional tests: You may be required to take a new vision or driving test to demonstrate that you no longer need the restriction.

The DMV will review your case and determine if it’s safe to remove the restrictions on your license.

Reexamination & Priority Reexamination: Keeping Drivers Safe

Reexamination & Priority Reexamination: Keeping Drivers Safe

Reexamination & Priority Reexamination: Keeping Drivers Safe

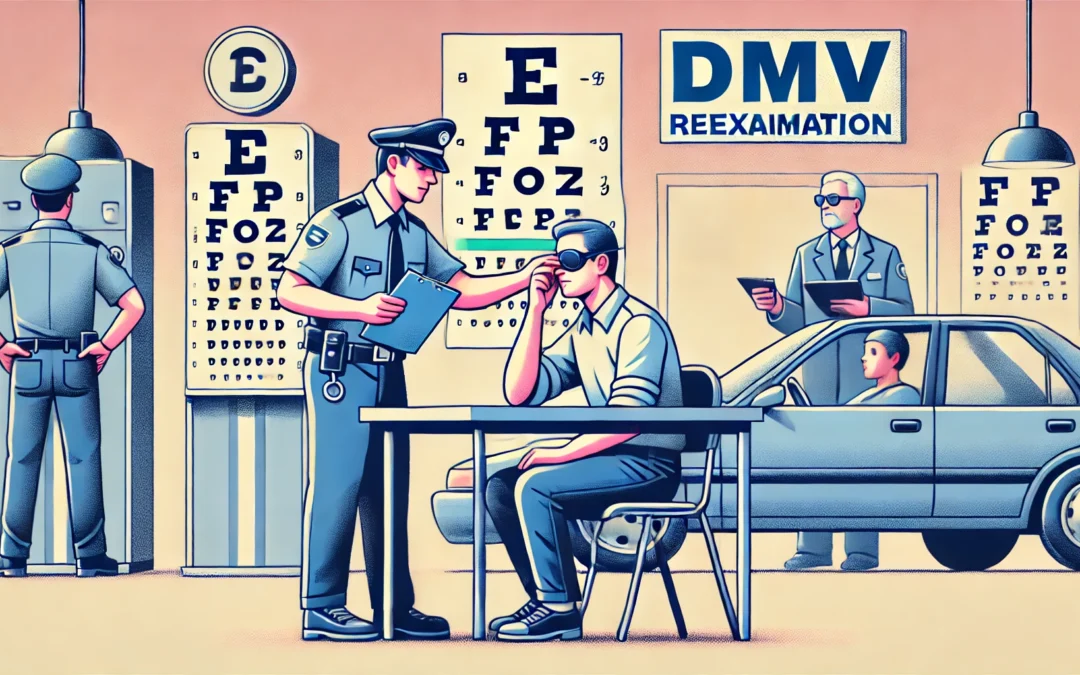
Reexaminations are a crucial part of ensuring that drivers on the road remain capable of operating a vehicle safely. The California Department of Motor Vehicles (DMV) may require a driver to undergo a reexamination or priority reexamination if there are concerns about their ability to drive. These processes are designed to assess a driver’s fitness and help prevent accidents caused by medical conditions, age-related decline, or other factors that could impair driving ability. Here’s what you need to know about these evaluations.

1. What Is a Reexamination?

A reexamination is a process that the DMV initiates when they have reason to believe that a driver may no longer be able to safely operate a vehicle. This could be due to:

  • Medical conditions: Such as seizures, vision impairment, or cognitive decline.
  • Traffic violations: Multiple accidents or violations may raise concerns about a driver’s competency.
  • Referrals from others: Law enforcement officers, medical professionals, or even family members may request a reexamination if they believe the driver is at risk.

During the reexamination, the driver may be required to undergo:

  • Vision tests: To ensure that the driver meets the minimum vision standards required to drive.
  • Written knowledge tests: To assess the driver’s understanding of current traffic laws and road signs.
  • Driving tests: A behind-the-wheel test may be required to observe the driver’s ability to control the vehicle in various traffic conditions .

The DMV will use the results of these tests to determine whether the driver can retain their license, needs additional restrictions, or should have their driving privileges suspended.

2. Priority Reexamination: When Immediate Action Is Needed

A priority reexamination is a more urgent form of reexamination. This process is triggered when there is immediate concern for the safety of the driver or others on the road. It may occur after:

  • Severe medical episodes: Such as a heart attack, stroke, or loss of consciousness while driving.
  • Serious traffic incidents: Including collisions or reckless driving behaviors that suggest the driver is no longer safe behind the wheel.

Unlike a standard reexamination, priority reexaminations require quick action, and the driver may be ordered to stop driving immediately until the evaluation is complete .

3. What to Expect During the Reexamination Process

If you are called for a reexamination, it’s important to approach the process with an open mind. The goal of the DMV is to ensure safety—not to punish drivers unnecessarily. Here’s what you can expect:

  • Notice from the DMV: You’ll receive a written notice explaining the reason for the reexamination and outlining the steps you need to take.
  • Medical review: In some cases, your doctor will be asked to submit medical information about your condition to help the DMV make an informed decision.
  • Testing and evaluation: Based on your specific situation, you may need to take vision tests, written tests, or a driving test.

It’s helpful to prepare in advance by reviewing the DMV handbook, scheduling an eye exam if vision is a concern, and practicing any driving maneuvers that you find difficult.

4. Outcome of a Reexamination

After the reexamination, the DMV will make a decision about your driving privileges. The possible outcomes include:

  • No action: If you pass all the tests, you’ll keep your license without restrictions.
  • License restrictions: The DMV may impose certain restrictions, such as no night driving or requiring corrective lenses, based on the results of the reexamination.
  • License suspension or revocation: If the DMV determines that it’s unsafe for you to continue driving, they may suspend or revoke your license.

If your license is restricted or revoked, you may be eligible for future reexaminations to regain full driving privileges after improvements in your health or skills.

Registering Out-of-State Vehicles in California: What You Need to Know

Registering Out-of-State Vehicles in California: What You Need to Know

Registering Out-of-State Vehicles in California: What You Need to Know

Bringing an out-of-state vehicle into California comes with its own set of rules and requirements. Whether you’re relocating or purchasing a vehicle from another state, it’s important to follow California’s registration process to make sure your vehicle complies with local laws. Here’s what you need to know to get your out-of-state vehicle legally registered in California.

1. Timeframe for Registration

If you’re moving to California or bringing a vehicle from another state, you must register it with the California Department of Motor Vehicles (DMV) within 20 days of establishing residency. Establishing residency may include:

  • Taking a job in California.
  • Enrolling your children in California schools.
  • Renting or purchasing property in the state.

Failing to register within this timeframe can result in fines and penalties, so it’s important to act quickly after moving.

2. Smog Check Requirement

One of the first steps in registering an out-of-state vehicle is ensuring it meets California’s emissions standards. Most vehicles, especially those that are more than four years old, must pass a smog inspection before they can be registered. Here’s what you need to know:

  • Smog certification: Vehicles from other states may not automatically meet California’s strict smog requirements, so you’ll need to provide proof of a valid smog check.
  • Exemptions: Electric vehicles, hybrids, and certain newer models may be exempt from this requirement .

Make sure to get your smog check done early, as failing the test can delay your registration process.

3. Documents You Need

To register an out-of-state vehicle, you’ll need to provide the DMV with several key documents:

  • The vehicle title or registration from the state where the car was previously registered.
  • Proof of insurance that meets California’s minimum coverage requirements.
  • A completed Application for Title or Registration (Form REG 343), which can be found online or at the DMV.
  • Odometer reading for vehicles less than 10 years old.

Having these documents ready in advance will make the registration process much smoother.

4. VIN Inspection

In California, your out-of-state vehicle must undergo a Vehicle Identification Number (VIN) inspection to verify its identity. This inspection can be performed at the DMV, by the California Highway Patrol (CHP), or by an authorized VIN verification service. The inspector will check:

  • VIN number to ensure it matches your vehicle’s paperwork.
  • Safety compliance to ensure the vehicle meets California’s standards.

Once your VIN is verified, the DMV can proceed with the registration process.

5. Fees and Taxes

Registering an out-of-state vehicle in California involves several fees:

  • Registration fees: These vary depending on the vehicle’s value, age, and location in California.
  • Use tax: If the vehicle was purchased out of state, you may need to pay a use tax similar to the sales tax that would have been charged in California.
  • Smog check fees: If your vehicle requires a smog check, you’ll be responsible for any associated costs.

Understanding the fees upfront helps you budget for the total cost of registration.

6. Special Cases for Military Personnel

California offers some special registration considerations for military personnel. If you’re an active-duty service member stationed in California but are a resident of another state, you may not need to register your vehicle in California. However, you must provide proof of your current military status and out-of-state registration. Be sure to check with the DMV for specific requirements that may apply to your situation.

Buying or Selling a Vehicle: What You Need to Know

Buying or Selling a Vehicle: What You Need to Know

Buying or Selling a Vehicle: What You Need to Know

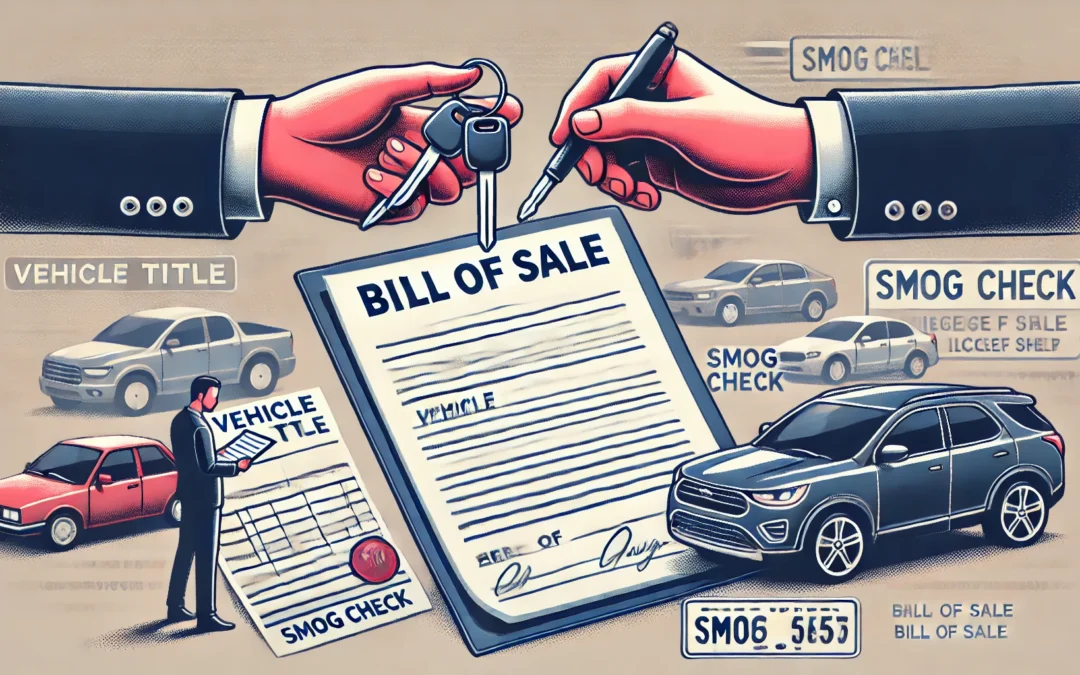
Buying or selling a vehicle involves more than just exchanging money and handing over the keys. There are several legal and administrative steps you need to follow to ensure the transaction is complete and compliant with California law. Whether you’re purchasing a new car or selling your old one, here’s what you need to know to make the process smooth and hassle-free.

1. Requirements When Buying a Vehicle

If you’re buying a vehicle, it’s essential to complete all necessary documentation and legal requirements to ensure that the car is legally registered in your name. Here’s what you’ll need to do:

  • Transfer the Title: The vehicle title must be signed over to you by the seller. Ensure that the information is accurate and that the odometer reading is recorded correctly.
  • Register the Vehicle: You must register the vehicle in your name at the California Department of Motor Vehicles (DMV) within 10 days of purchase. Be prepared to provide the title, bill of sale, and proof of insurance.
  • Smog Certification: For vehicles older than four years, a smog certification may be required. Ensure that the seller provides a valid smog check certificate before completing the purchase.

By taking these steps, you can avoid legal complications and ensure that the vehicle is legally yours.

2. Requirements When Selling a Vehicle

If you’re selling a car in California, you must follow certain procedures to protect yourself from future liability:

  • Complete a Notice of Transfer and Release of Liability: File this form with the DMV within five days of selling the car. This notifies the DMV that you are no longer responsible for the vehicle and releases you from any future liabilities.
  • Provide the Buyer with the Required Documents: This includes the signed title, bill of sale, and, if applicable, the smog certification. Make sure to record the sale price accurately.
  • Remove Your License Plates: In California, the seller typically retains the license plates unless you are transferring them to a new vehicle.

Properly completing these steps helps ensure that the vehicle is legally transferred to the buyer and that you are no longer liable for it.

3. Fees and Taxes

Both buyers and sellers should be aware of the fees and taxes involved in vehicle transactions:

  • Sales Tax: Buyers are responsible for paying sales tax based on the purchase price of the vehicle. This is typically paid when registering the vehicle.
  • Transfer Fees: Both parties may need to pay a transfer fee to complete the change of ownership with the DMV.
  • Registration Fees: Buyers must pay registration fees when they transfer the title into their name.

Understanding these costs upfront can help both parties budget accordingly and avoid surprises at the DMV.

4. Avoiding Scams and Ensuring Safety

When buying or selling a car, it’s essential to take precautions to avoid fraud:

  • Meet in a public place: Arrange to meet the buyer or seller in a public location to complete the transaction.
  • Verify the vehicle’s history: Use the vehicle identification number (VIN) to check the car’s history report for accidents, theft, or outstanding loans.
  • Use secure payment methods: If selling, ask for a cashier’s check or meet at a bank to complete the transaction securely.

Taking these steps helps protect you from potential scams and ensures a secure transaction.

5. Finalizing the Sale

After the paperwork is complete, the vehicle title is transferred, and any required inspections are done, make sure to:

  • Remove your personal items: Double-check that you’ve taken out all your belongings from the vehicle.
  • Update your insurance: Notify your insurance company of the sale or purchase to adjust or cancel coverage as necessary.
  • Keep copies of all documents: For your records, keep copies of the signed title, bill of sale, and any correspondence related to the transaction.

Completing these final steps ensures that both the buyer and seller have a clear record of the transaction.

Dealing with Collisions: What You Need to Know

Dealing with Collisions: What You Need to Know

Dealing with Collisions: What You Need to Know

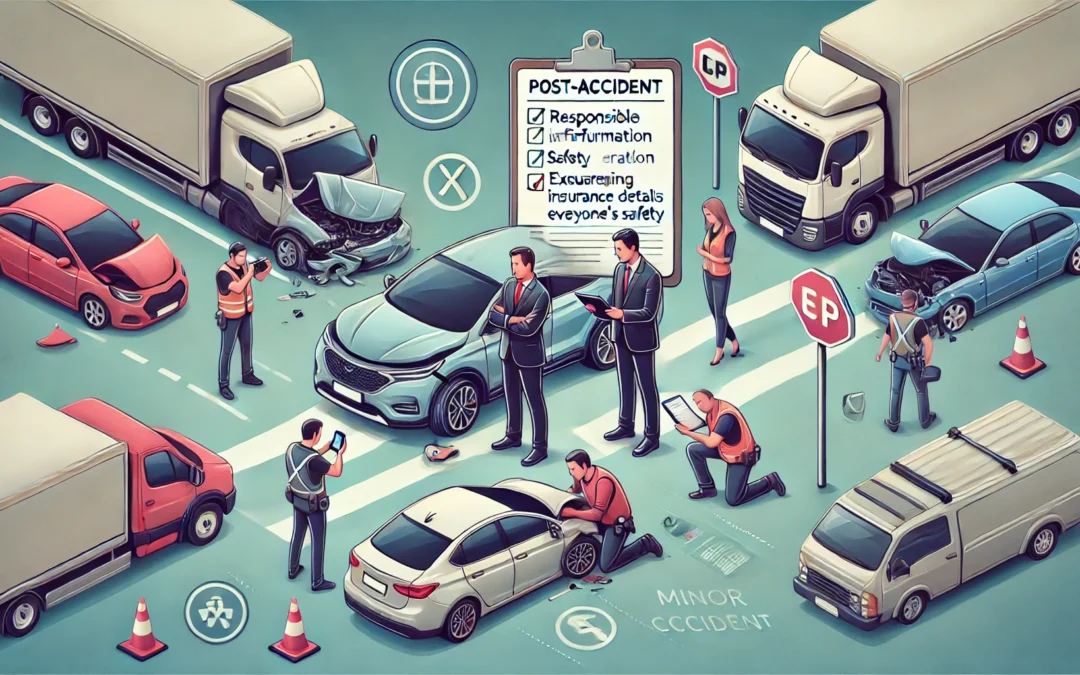
Even the safest drivers may find themselves involved in a collision at some point. Understanding what to do after an accident can make a big difference in how you handle the situation, protect yourself legally, and ensure everyone’s safety. Here’s a guide to what steps you should take if you’re involved in a collision.

1. Ensure Safety First

After a collision, the safety of everyone involved should be your top priority. If the accident is minor:

  • Move to a safe area: If possible, move your vehicle out of traffic to prevent further accidents. This could mean pulling over to the shoulder or into a nearby parking lot.
  • Turn on your hazard lights: This alerts other drivers that there’s a problem and helps prevent additional collisions.
  • Check for injuries: Ensure that you, your passengers, and the occupants of the other vehicle are not injured. Call 911 if there are any injuries, no matter how minor they seem.

Remaining calm and ensuring everyone’s safety is the most important first step after a collision.

2. Exchange Information

Once the immediate danger has passed, it’s crucial to exchange information with the other driver(s). This will help with insurance claims and legal processes. The key pieces of information to collect include:

  • Name, address, and phone number of the other driver.
  • Driver’s license number.
  • License plate number.
  • Insurance details, including the company and policy number.
  • Vehicle make and model .

Be polite and cooperative during this process, but avoid discussing fault or assigning blame at the scene.

3. Document the Scene

To protect yourself, it’s important to document the accident thoroughly:

  • Take photos: Capture pictures of all vehicles involved, including damage, license plates, and the general surroundings. Also, take photos of any injuries.
  • Get witness contact information: If there were any witnesses, ask for their names and contact information, as their statements may be useful later.
  • Write down details: Jot down the time, date, and location of the accident, as well as road conditions or any other relevant factors that could be important for your insurance claim .

Documenting the scene helps clarify what happened and can protect you during insurance claims or legal disputes.

4. File a Report

In California, you are required to report a collision to the Department of Motor Vehicles (DMV) if:

  • There are injuries (no matter how minor).
  • There is property damage exceeding $1,000.
  • The other driver was uninsured .

You should file a report within 10 days of the accident. Failing to do so can result in fines or license suspension, so make sure to stay on top of this step.

5. Follow Up With Insurance

As soon as possible after the accident, contact your insurance company to report the incident. They will walk you through the claims process and let you know what’s required from you:

  • Provide them with all the information you gathered at the scene.
  • Submit photos or documents related to the accident.
  • Follow their instructions on getting repairs or estimates.

Being prompt and thorough with your insurance provider can help speed up the claims process and ensure that your vehicle is repaired quickly.